A student can solve equations confidently and still freeze when a two-column proof shows up. When I explain how to do geometry proofs, I start here: a proof is an argument where every claim needs a reason. The task is not just to find an answer. It is to explain why that answer must be true.
That changes how you approach the page. You still need definitions and theorems, but memorizing their names is not enough. You need to recognize when their conditions are met and use them to connect what you know to what you want to prove.
Why Students Freeze at Proofs
Many familiar math exercises come with a recognizable procedure: solve for x, substitute into a formula, simplify. Proofs can feel different because the student has to choose the path and justify it. There may be several valid routes, and the worksheet does not tell you which one to take.
I think that is one of the most valuable parts of geometry. Students practice making a claim, supporting it, and checking for gaps. But an unfamiliar format can make a capable student feel lost.
For parents, here is a useful replacement for an ability label: "You're out of practice at explaining your math step by step. Let's work on that skill." If proofs are entirely new, say that plainly too. An unfamiliar skill is something to learn, not a verdict on a student's ability.
How to Do Geometry Proofs: Think of It as Telling a Story
Here is the frame I use: a proof has a beginning (what you are given), an ending (what you have to prove), and a middle (the statements connecting them). Every step needs support from a given, a definition, a postulate, a theorem, or an earlier established fact.
1. Read the "prove" statement first, then work backward
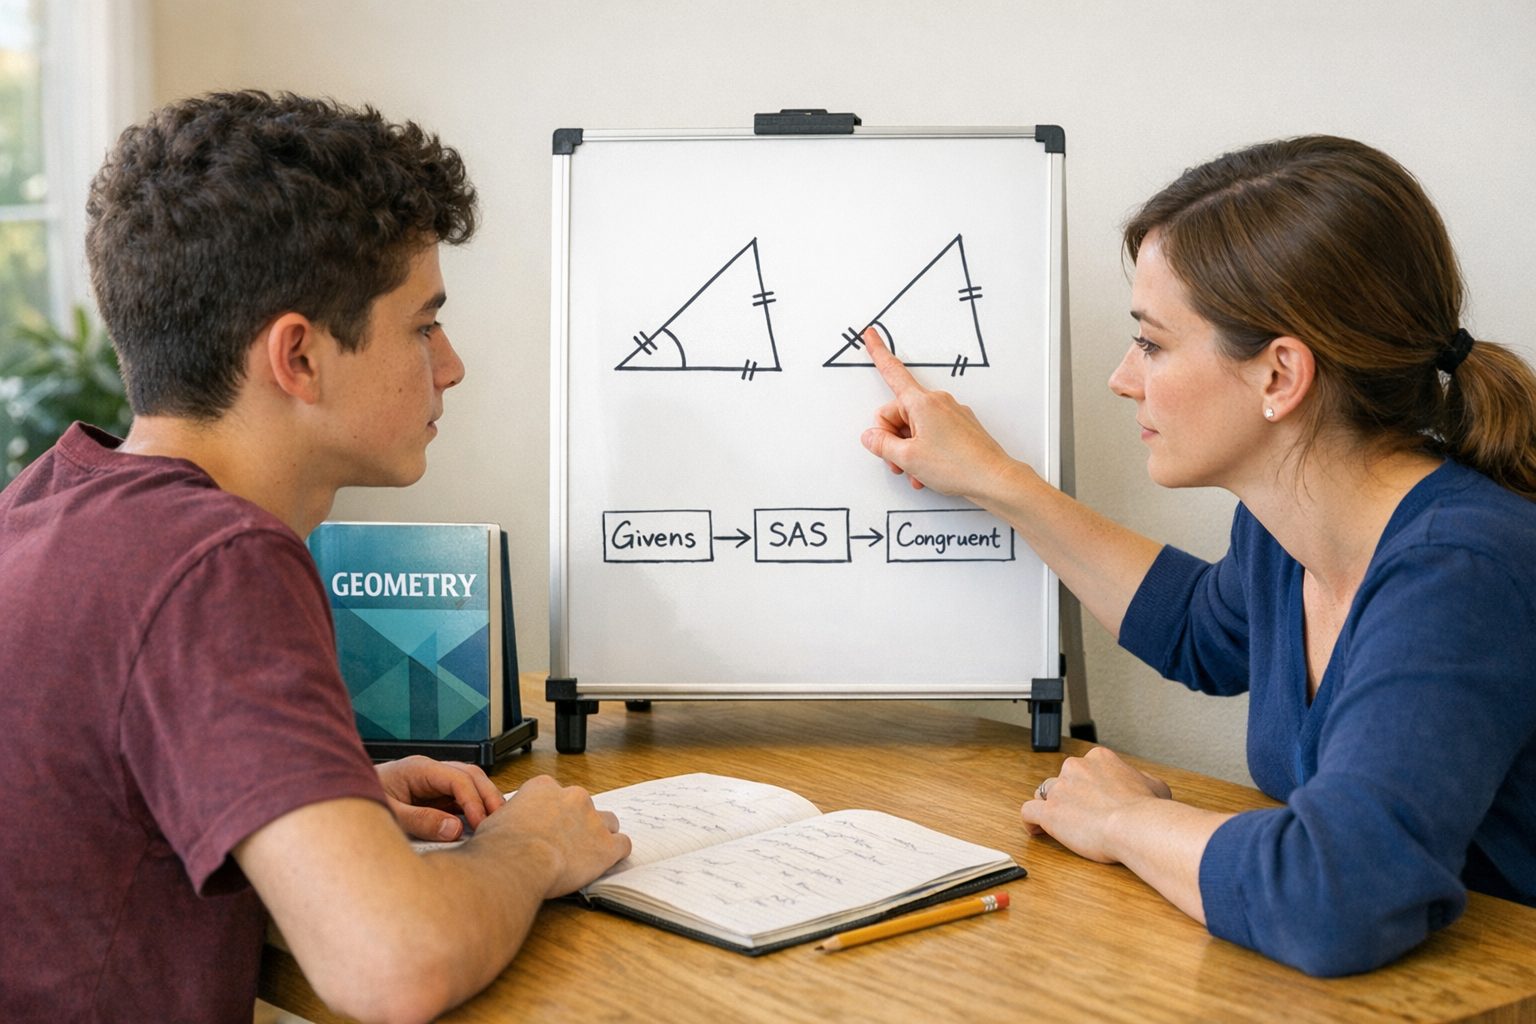
Start at the ending. Ask: what would be enough to establish this? If you need to prove two triangles congruent, consider the triangle-congruence criteria, such as side-angle-side or angle-side-angle. Check exactly which corresponding sides and angles each criterion requires. Now you know what evidence you are hunting for.
Working backward is for planning. When you write the finished proof, start with established facts and work toward the conclusion. Do not use the conclusion itself as evidence.
2. Translate each given into something you can use
The givens are your evidence. If M is the midpoint of segment AB, write down that AM and MB are congruent. If two lines are perpendicular, identify the right angles they form. A definition can turn a word in the prompt into the relationship you need.
Check every given, but do not assume every proof must use all of them. A problem can contain extra information. The useful question is: "What does this fact let me establish?"
3. Mark the diagram with what you actually know
Your pencil is a thinking tool, not just a writing tool. Put matching tick marks on segments known to be congruent and matching arcs on angles known to be congruent. Highlight the triangles you are comparing. If they share a side, note that the shared segment is congruent to itself by the reflexive property.
Only add marks justified by the givens, the problem's supplied markings, or facts you have proved. A line that looks perpendicular is not necessarily perpendicular. A point that looks centered is not necessarily a midpoint.
4. Build the chain one honest link at a time
Every statement needs a reason. Imagine someone asking after each line, "Why is that true?" If you can point to a given, definition, theorem, postulate, or established fact, keep going. If your answer is "because it looks like it," you have found a gap.
Check the conditions of your reason, too. Side-angle-side requires the angle between the two corresponding sides. Two sides and an arbitrary angle are not enough.
5. When you are stuck, name what is missing
Turn "I have no idea" into a specific question. Imagine a student who has established two pairs of corresponding congruent angles but needs to prove the triangles congruent. The next question is: "Can I establish a pair of corresponding congruent sides?" That is a narrower search than staring at the whole diagram.
On scratch paper, separate what you know from what you still need. Keep guesses out of the finished proof until you can justify them.
A Short Geometry Proof, Worked Through
Suppose segments AB and CD intersect at M, and M is the midpoint of both segments. Prove that triangle AMC is congruent to triangle BMD. Sketch the intersecting segments before reading on.
I would start by asking what the midpoint information gives us. It establishes two pairs of congruent sides. The intersecting lines supply the included angles:
AM is congruent to BM. Reason: M is the midpoint of AB, so the definition of midpoint applies.
CM is congruent to DM. Reason: M is the midpoint of CD.
Angle AMC is congruent to angle BMD. Reason: vertical angles are congruent.
Triangle AMC is congruent to triangle BMD. Reason: side-angle-side. The congruent angles lie between the corresponding congruent sides.
In a two-column format, the statements go on the left and their reasons go on the right, with the givens recorded as your teacher requires. The format organizes the argument; it does not create it. Notice that nothing depends on the sketch looking symmetrical.
Helping With Proofs at Home
You do not have to remember every theorem to help your child get started. Ask them to read the goal aloud, translate the givens, and explain a line they feel confident about. Keep the tone curious rather than turning the homework into a cross-examination.
If you remember the material, you can help check whether each theorem's conditions are satisfied. If you do not, use the class notes together. Look for both the theorem's conditions and its conclusion, not just its name.
If neither of you can identify the gap, this is a natural place for help. At High Performance Tutoring, our geometry tutors can work through the student's reasoning, ask why a step follows, and help connect definitions to the diagram. Having someone other than a parent ask those questions can also make the conversation easier, without an audience of classmates.
If your child is hesitant, the first hour is free, with no commitment. Use it to see whether they feel comfortable asking questions and whether the explanations make sense to them.
I genuinely recommend starting early if you already expect geometry to be difficult. Set up support in the first two weeks rather than waiting until the night before a proof-heavy test. If the course is already underway, bring a recent unfinished proof to the teacher or tutor now. It gives them a concrete place to start.
Frequently Asked Questions
Do I need to memorize every theorem?
You need to know the definitions and theorems your class expects, but a name alone is not useful. During practice, make a reference sheet that pairs each theorem's conditions with what it lets you conclude. Follow your teacher's rules about what you may use on assessments.
What if my proof is different from the answer key?
A different route can be valid. Check whether every statement follows from established facts and whether you reach the required conclusion without assuming it along the way. Your teacher may also require a particular format or method, so check those instructions.
Can I skip a step if it is obvious from the picture?
Not if appearance is your only justification. Supplied labels and markings can communicate given information, but an unmarked relationship needs support. If you are unsure how much detail to write, ask your teacher to show you an example of an acceptable proof.
How should I practice after getting a proof wrong?
Find the first unsupported statement or the fact you overlooked. Explain why that step did not work, then close the solution and rebuild the proof yourself. On your next attempt, check whether you can explain the reasons rather than simply reproduce the lines.
If your child is freezing up at proofs, High Performance Tutoring can help them work through the reasoning. The first hour of tutoring is free, with no commitment, so your child can meet the tutor and you can decide whether the approach works for your family. Reach out to get started.